Alpic supports custom domains (CNAMEs) for your MCP servers, allowing you to use your own domain name instead of the default Alpic one. This feature enables you to maintain your brand identity and provide a more professional experience for your users.
Custom domains are available only on the Pro plan and above.
Activating Custom CNAMEs
To activate a custom CNAME for your MCP server environment, follow these steps:
Navigate to Settings
In your Alpic dashboard, go to your Project Settings tab.
Go to Domains section
In the Settings page, navigate to the Domains section. You will see the list of domains you have added for your
project. Click on Add to add a new domain.
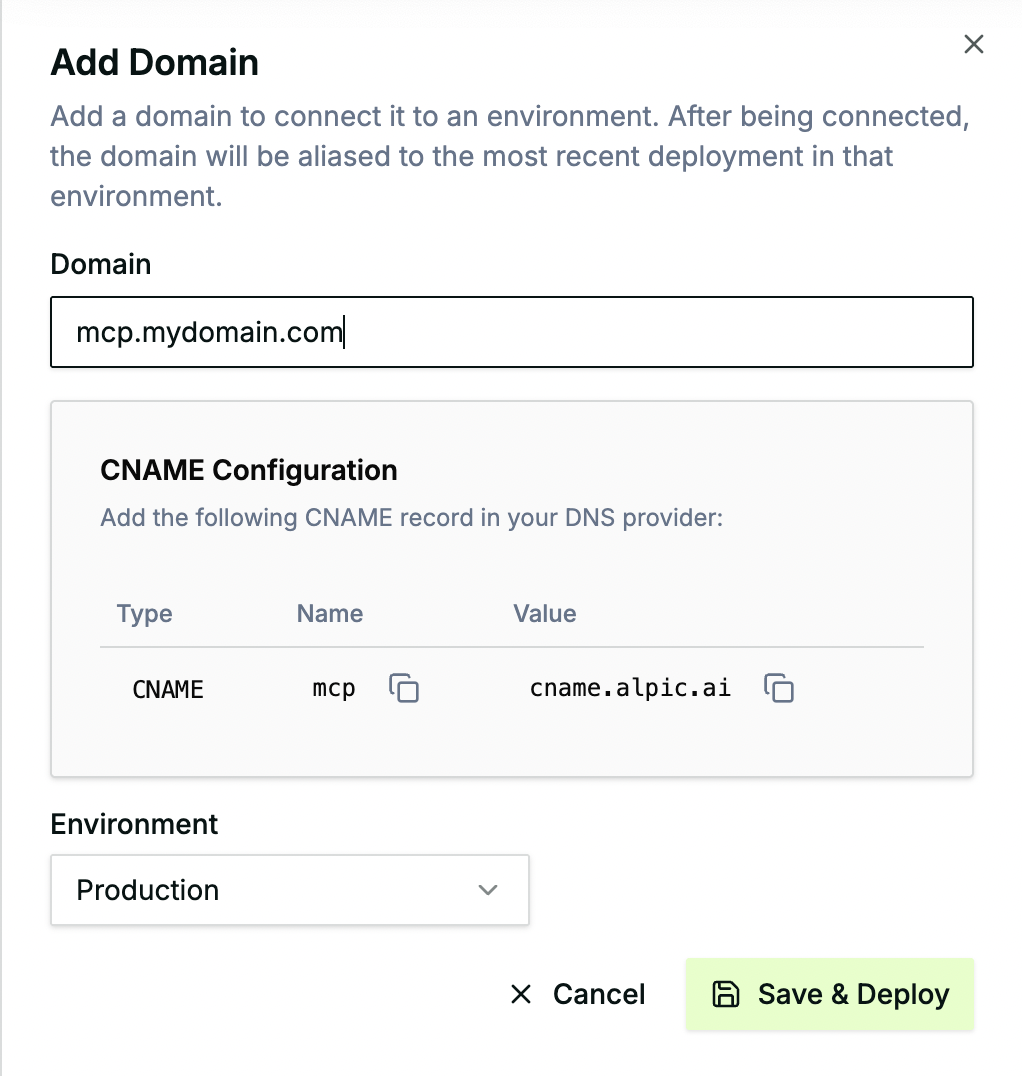
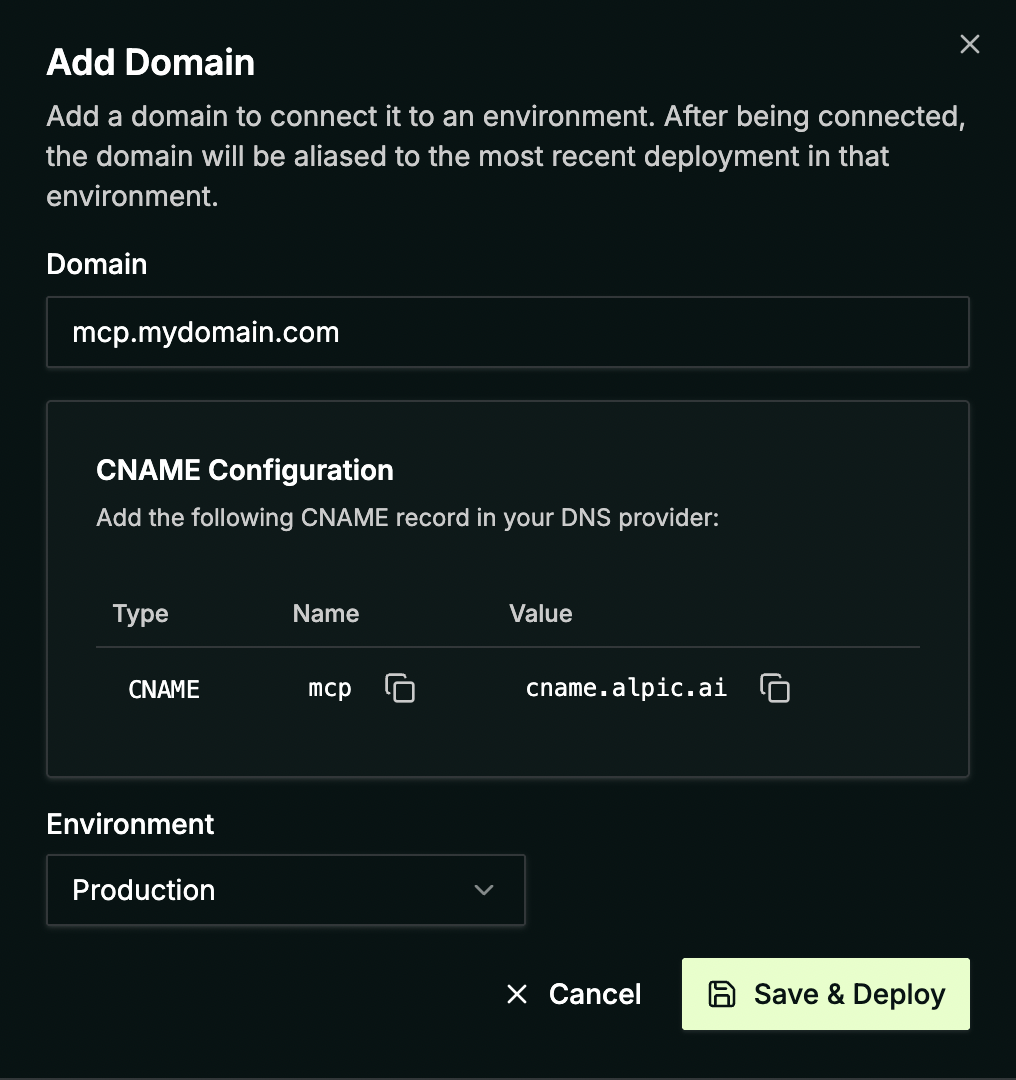
Add the domain name you want to use for your environment
Enter your custom domain name and select the environment you want to configure. The CNAME records you need to add to your DNS provider will be displayed in the modal. Configure DNS
Before validating the new domain name in Alpic, configure your DNS provider to point your domain to the Alpic endpoint
as shown above.
Validate the domain name addition
Once you have added the DNS records required to link the domain name to Alpic, you can validate it by clicking on Save & Deploy.
Currently, we don’t support root domains (e.g., example.com) or wildcard domains (e.g., *.example.com).
Cloudflare users
If your domain is managed by Cloudflare, make sure the CNAME record is set to DNS only (gray cloud icon) — not Proxied (orange cloud).
When the Cloudflare proxy is enabled, Cloudflare intercepts traffic and replaces your CNAME with its own anycast IPs in public DNS. Alpic’s infrastructure (powered by AWS CloudFront) validates the CNAME at registration time, and will fail to verify ownership if the record is proxied.
Adding a domain will fail with a DNS configuration error if the Cloudflare proxy is enabled on the CNAME record. Keep
the record set to DNS only while saving — you can re-enable the proxy afterwards only if you intend to route
traffic through Cloudflare rather than directly to Alpic.